“WordPress is a popular and powerful CMS which is used by millions of developers for giving a new juicy and stylish look to the website. It almost reduces the numerous steps by which anybody from anywhere, whether he/she has the coding skills or not, can able to design his/her website. It has tons of free templates which you can easily able to import and for including any other functionality we have tons of Plugins available too. So WordPress has everything by which you can have your desired website on the Internet.”
But as every other work needs techniques and proper structure, the same goes with WordPress too. Let me explain this point by an example:- We all play cricket or we had played cricket but what is the difference between International cricket and gully cricket? The answer is simple- technique or discipline. And in this post, we are going to discuss the real workflow or the technique by which you can call out as a Pro WordPress developer.
We are going to discuss here the real workflow which will be important for designing any kind of website through WordPress. So let’s understand:-
Step 1- Project Requirement Understanding

Here also, before start developing the site in WordPress, you need to understand the core requirements of your website, which will help you in adding meaningful sections or blocks to the site, and more powerfully you can able to convince your readers or visitors.
Step 2- WordPress Installation

To work with WordPress, you must have WordPress first. You must need to have the knowledge of installing WordPress inside your Local server (on your own computer, for the learning purpose) as well as the Web Server (inside Hostinger, HostWinds, and other hosting servers).
You can learn to install WordPress inside a local server through our How to Install WordPress In Your Local Server post. And also you can able to install WordPress inside any live or hosting server through our How to install WordPress inside the hosting server post.
Step 3- Theme Installation & Activation
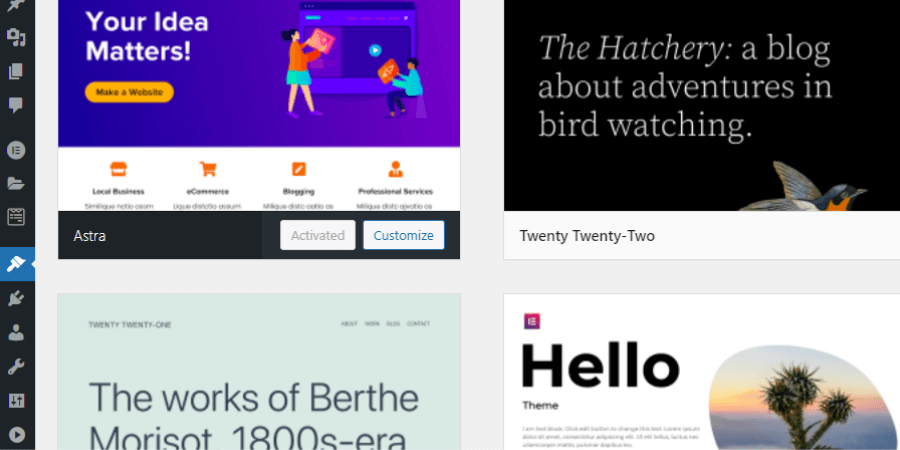
After successful installation of WordPress, we need to customize the theme. By default, WordPress installed any default theme like- Twenty Twenty-Two theme, Elementor theme and etc.
When I start developing any website from scratch then I prefer the Elementor theme, which is been a very adaptable and easy-to-use theme. But you can select any other desired theme too of your choice. And to add themes, simply go inside the Appearance > Themes then search and install your desired theme.
Step 4- Select your Page Builder
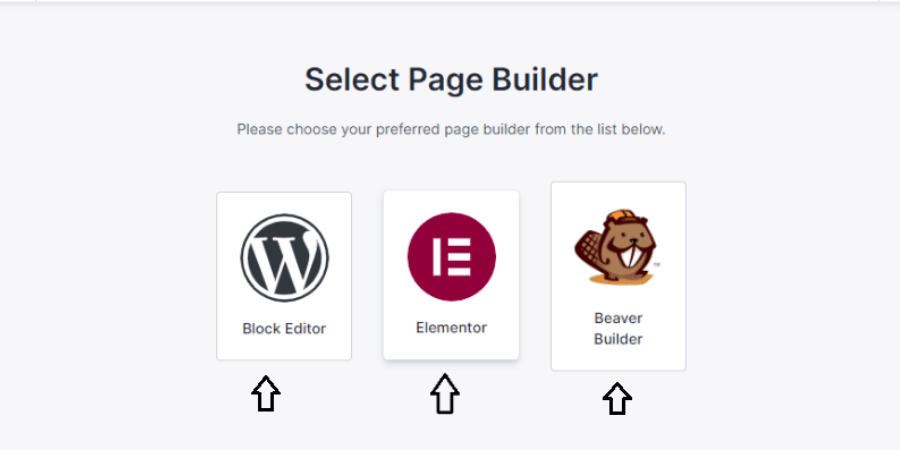
After selecting the theme, we need to select our page builder, through which we can construct our particular webpage. These page builder plugins also help us in customizing our sections. There are tons of page builder plugins. Some of the popular plugins, I am enlisting below:-
- Elementor
- Beaver Builder
- WP Bakery Page Builder
- Visual Composer Website Builder
- Themify Builder
Although you can opt for any page builder plugin. But throughout this post, we will be using the Elementor plugin, which is been more powerful, popular, easy-to-use plugin. Here it has already had 50 pro widgets, 300 pro templates, and 10 full website kits with easy drag and drop functionality. Also, we can develop e-commerce websites here with much ease.
Step 5- Download Elementor and Elementor Pro Plugins
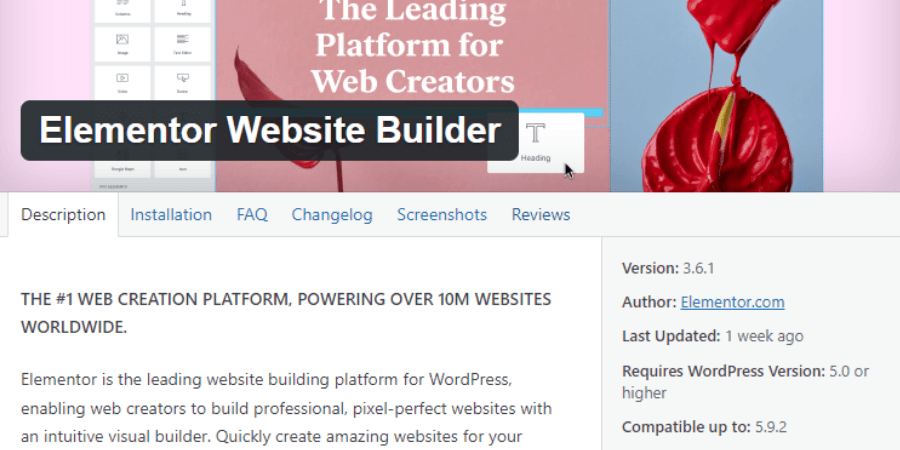
We can easily able to download the Elementor plugin from the WordPress dashboard, Plugins > Add New and it will be free of cost too. But to install the Elementor Pro version, it will ask the US $99/ year. In your learning phase, $99 or 7,504.65 Indian Rupee, it’s somehow a big amount.
But don’t worry, you are with “Baba Coder”, and here I will be revealing to you the steps by which you can easily able to download the Elementor and Elementor Pro versions totally free without bearing any cost. So let’s understand the steps.
1. Search For ShineAds inside the browser or simply paste the URL- https://www.shineads.in/

Simply, you need to access the ShineAds website or simply paste the URL- https://www.shineads.in/ inside the browser Search URL bar and automatically it will redirect to the official website.
2. Search for Elementor inside the ShineAds website
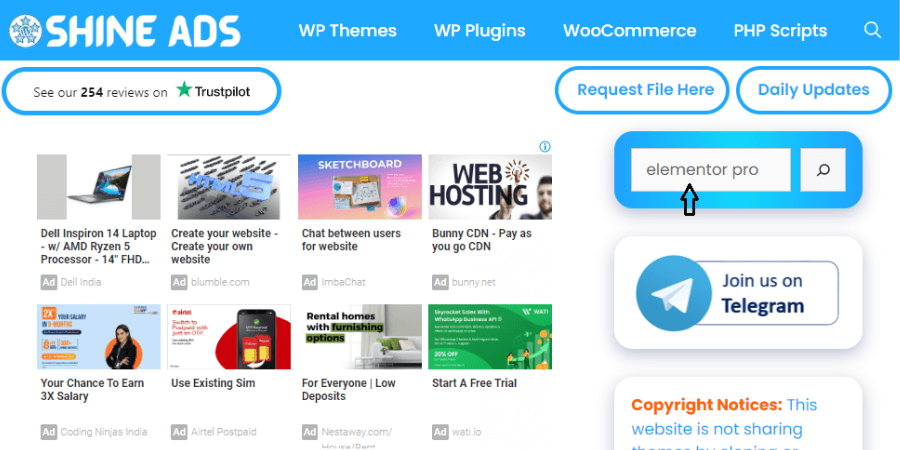
Now inside the official website of ShineAds, you will be getting a search box, where you need to search for the Elementor Pro.
3. Click on the free download button of the Elementor Pro downloading link
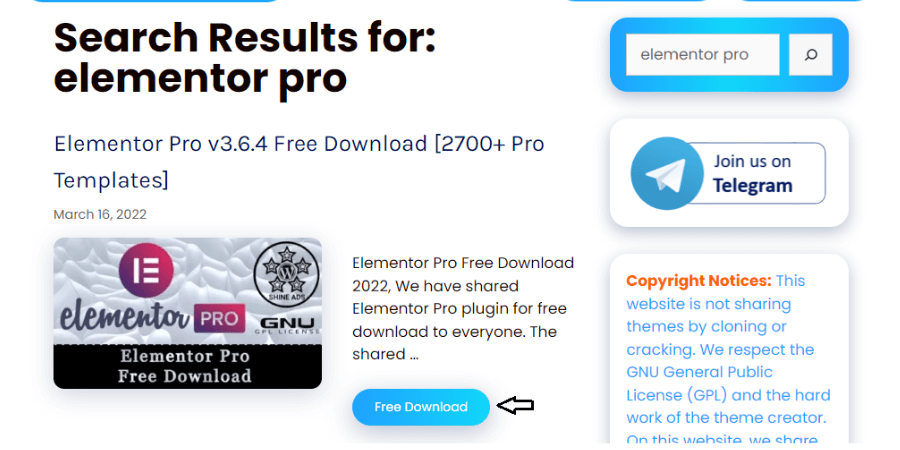
You will be getting different links now but you need to select the latest available and updated Elementor Pro link (till the 3.6.4 version is the updated version). Click on the free download button below.
4. Search for Elementor inside the ShineAds website
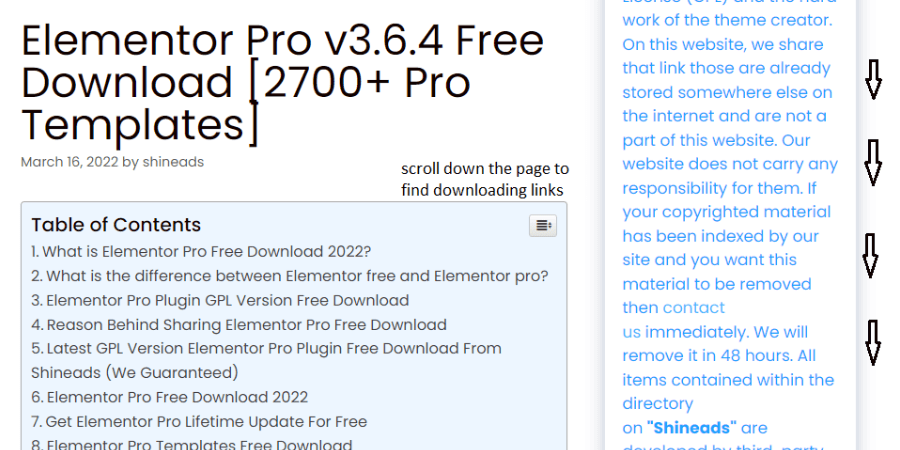
Now, you will be getting the documentation part here, which you can read, as it briefly described everything about Elementor and Elementor Pro. You need to slightly scroll down the page to access the downloading links.
5. Access the downloading links now
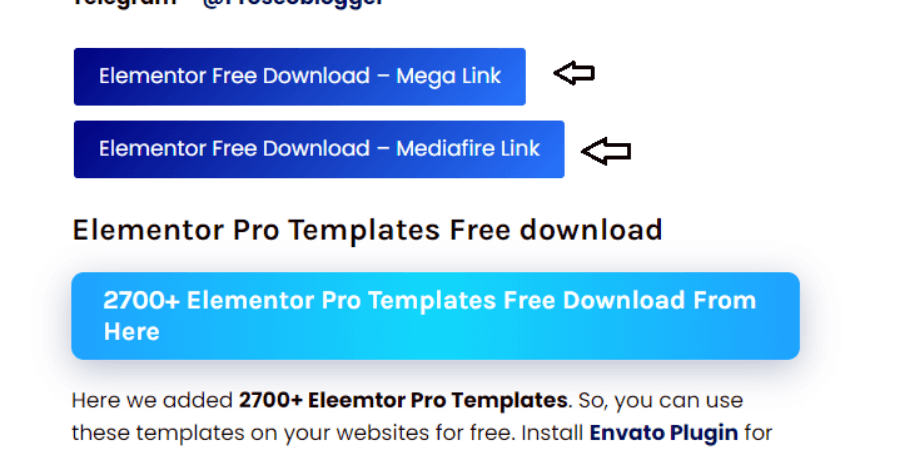
You will be getting the Megalink and Mediafire downloading link of Elementor & Elementor Pro at the mid-bottom of the page. You can choose anyone and it automatically redirects to the downloading area.
6. Read the documentation and simply download the Rar or Zip file of the Elementor Pro version
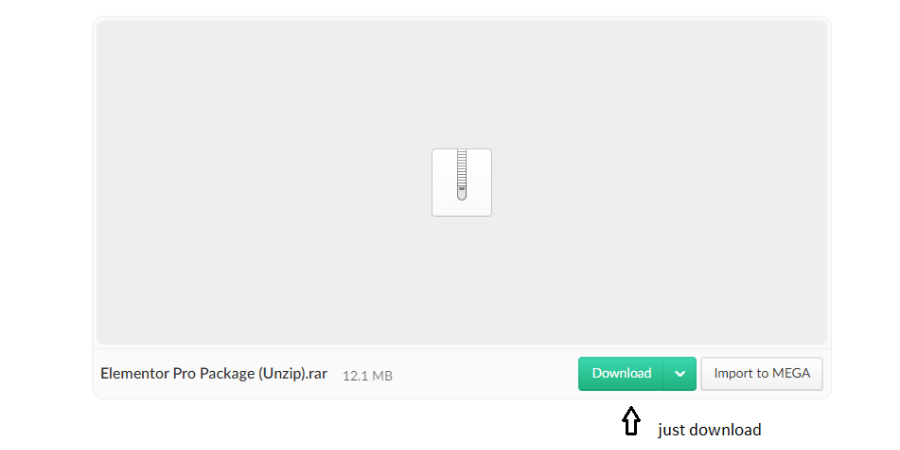
Now click on the Download button and it automatically downloads the Elementor & Elementor Pro plugin, in the .rar or .zip format which you need to upload inside plugins from Plugins > Add New > Upload, inside the WordPress dashboard.
Step 6- Header, Footer & Blog Creation Through Theme Builder
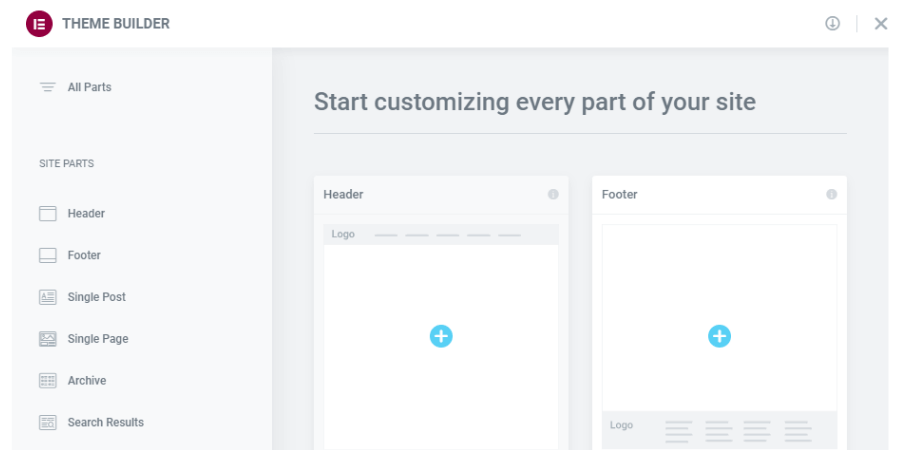
A Theme Builder lets us create a custom template to replace a certain default template of a theme. For example:- I want to set a particular header or footer which I want to have inside every page of my site, so easily I can do it here and also I can apply it for the entire website or any particular page.
If you want to replace a certain default template then it is been a good practice to create it inside the Theme Builder. It’s been easy to include or exclude your custom template here. Mainly your custom header, footer, archive blog, single blog post, product and other, etc. pages you can create here.
Step 7- Contact Form Designs In WordPress

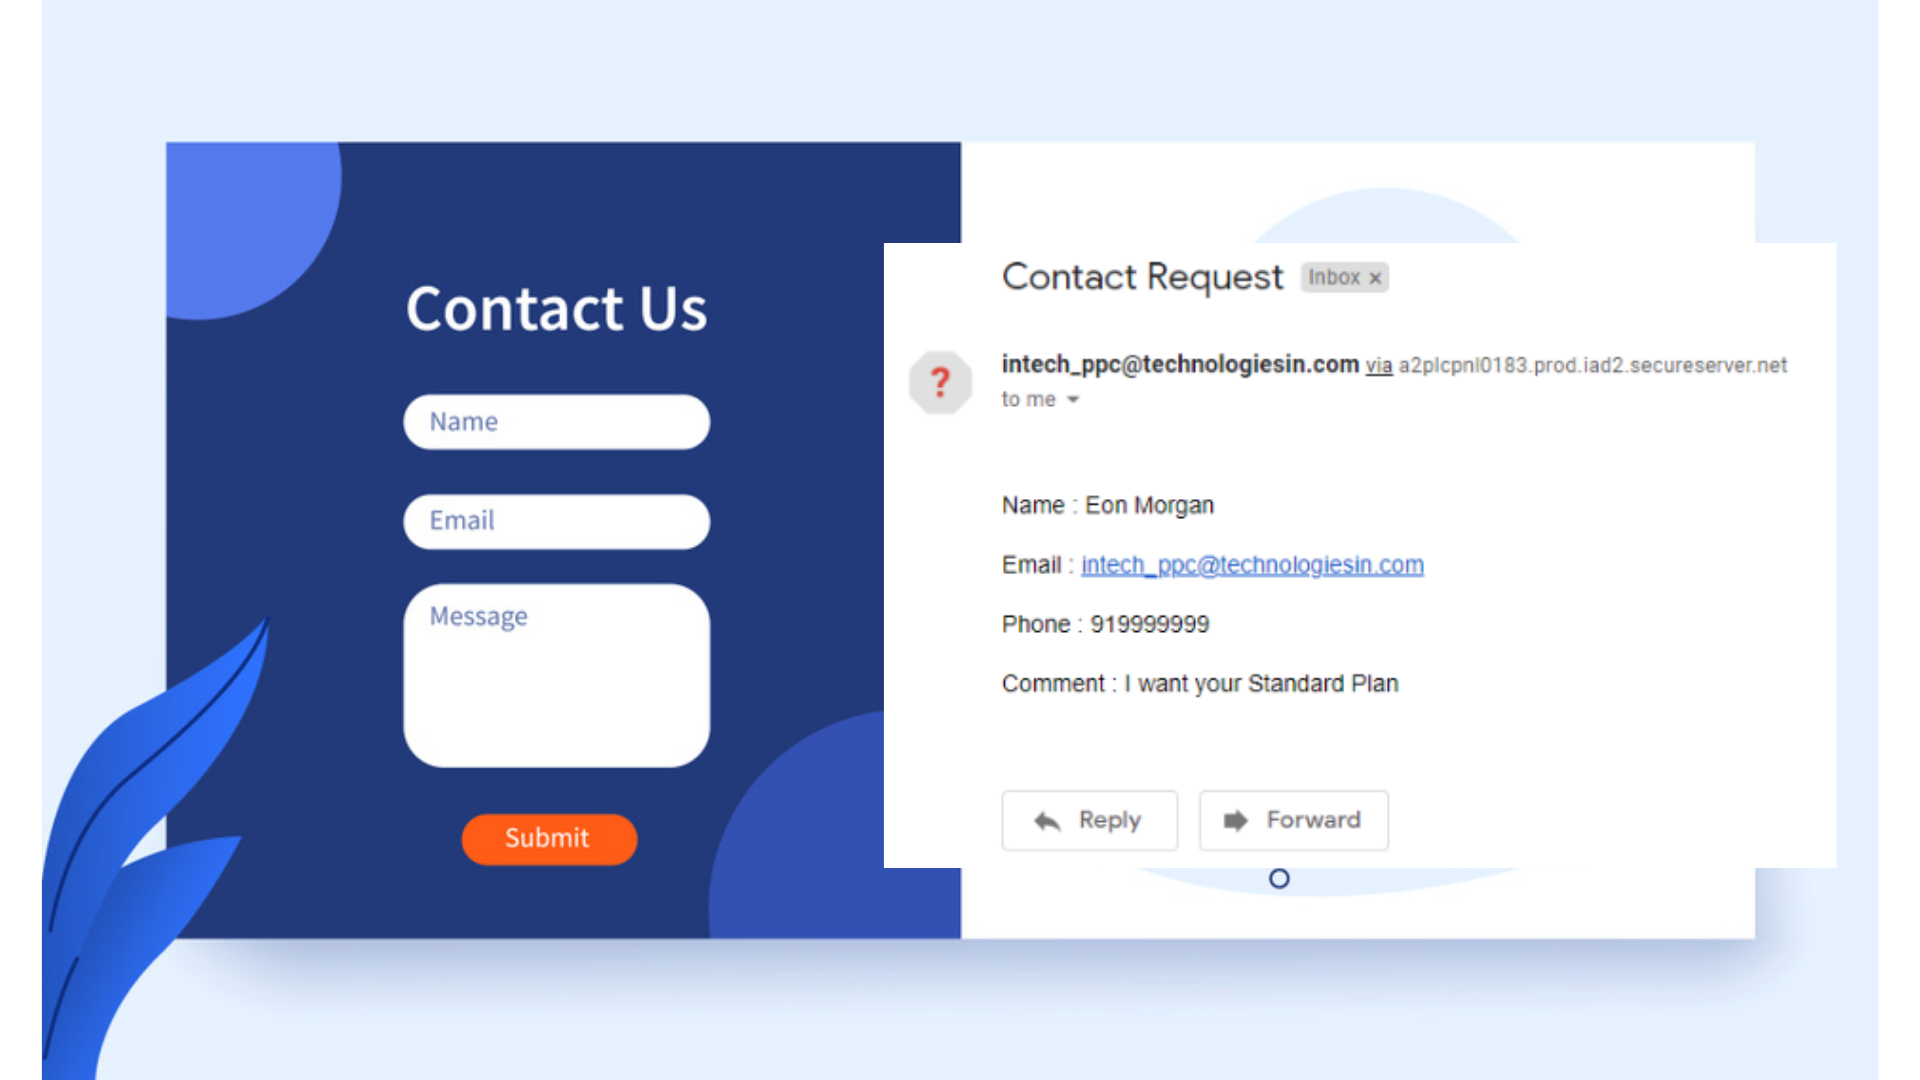
As 94% of every website has contact forms and it is been a bridge between the readers and the creators, where viewers or readers can ask their queries and creators then try to solve their queries. When the reader uses to submit his query inside these forms, it automatically drops to the creator’s mail id from where the creator can read the queries.
In WordPress, it is very easy to design a fully functioning contact form as there are tons of plugins available here, some of the powerful and popular plugins I am mentioning below:-
- WPForms
- Contact Form 7
- Simple Basic Contact Form
- Jetpack Forms
- Gravity Forms by BestWebSoft
Customization way of forms is somehow similar inside every plugin. In our upcoming post, definitely, we will be talking about the steps of constructing a full-fledged working contact form.
Also, you can visit our post where we have thoroughly explained the contact form set up or activation settings by using the Contact Form 7 plugin, inside this link- https://babacoder.com/blog/working-contact-form-through-contact-form7-plugin-in-wordpress/, and through WPForms plugin, inside this link- https://babacoder.com/blog/working-contact-form-through-wpforms-plugin-in-wordpress/.
Step 8- Website Testing On Different Screens
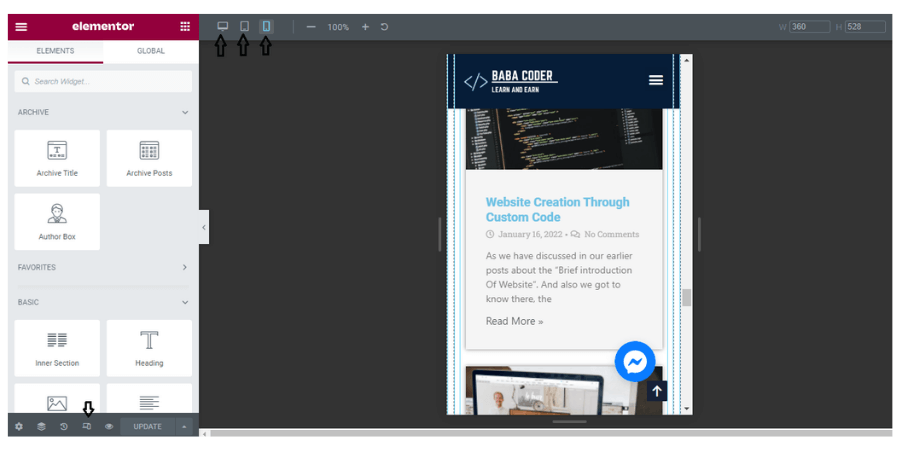
Nowadays, Google or other popular search engines like- Safari, and Internet Explorer conduct your website a fair website only when it is been fully-responsive, which means your designed website should look better on every screen, whether it is been accessed on a tablet or on a mobile screen. It’s been a good practice if you check the newly developed section on every screen.
In Elementor, it’s been much easier to edit the sections for mobile or tablet screens, simply you need to click on the Responsive mode, and from there you can easily able to edit the section for tablet or mobile screens.
Step 9- Install Cache Optimization Plugin
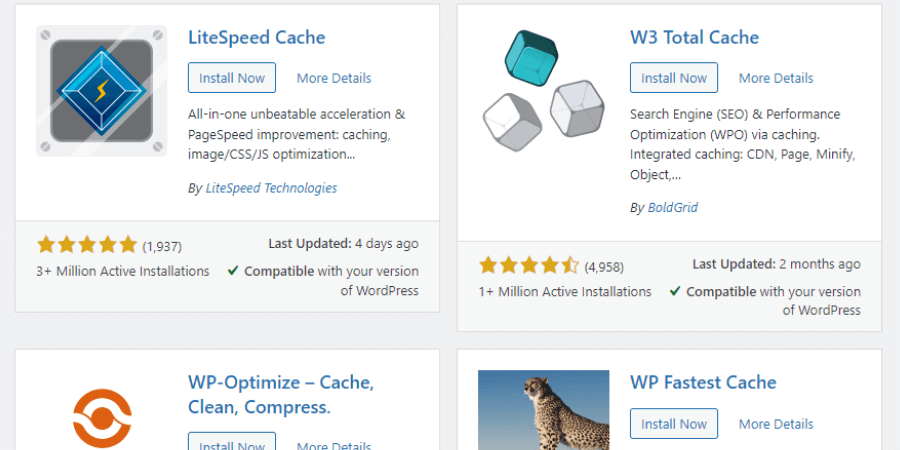
To improve your site performance and lessen the load on the server, you can use different cache plugins. As WordPress sites usually been heavy and have a slow loading time, you can lessen or transfer the load time through cache plugins. You can also be able to minify your HTML, CSS, and JS code, so your site has a fast loading time. Tons of cache plugins are available inside WordPress. Some of them am enlisting below as follows:-
- WP Rocket
- W3 Total Cache
- Hummingbird
- WP-Optimize
- LiteSpeed Cache
- Comet Cache
The customization way of cache plugins is somehow similar to most cache plugins. Our upcoming post, definitely, talks about the steps of customizing Cache plugins.
Conclusion-
Here, we talked about the real workflow of developing any kind of website inside WordPress. The above-given information is been the correct way of structuring or developing any website. In our upcoming post, we will be talking about how to design an amazing and beautiful portfolio website in WordPress and how to construct a fully-functioning e-commerce store in WordPress.
Till stay tuned, we will be learning a lot here. If you are having any queries, feel free to comment down below.


