“As we have discussed earlier too, that for using WordPress, we need to have the hosting and any domain, and if you want to learn the WordPress first before using the actual hosting servers, then you need to create your system a mini-server, through the software like Xampp and Wampp, etc., from where you can run Apache and MySQL, which needed to create the server and then your system or server is been ready to host the files, and your local directory been considered as the domain or address here. Although, you only can able to access your file or site here as your system or server is not connected to the other servers. Here nobody can access or read your blog or site. Just for the practice you can install and can design the websites through it.”
So below here are the steps by which, you can install WordPress in your local system and can use it, I am describing the steps by using the Xampp on Windows, but you can use other software too like WAMP, Mampp, etc. with other operating systems and the steps are almost similar. So let’s begin:-
1. Search For The Xampp In Your Browser
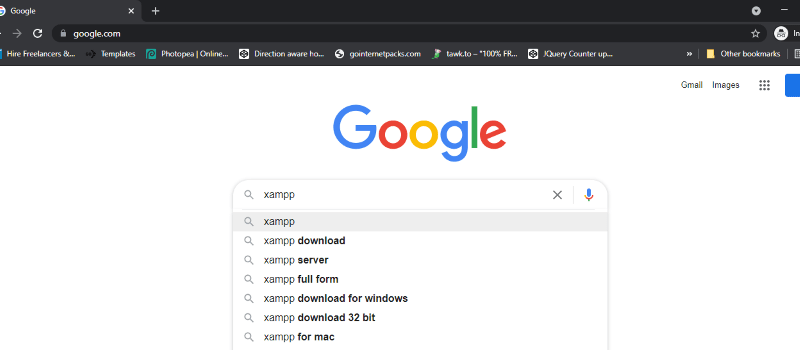
Just quickly search Xampp on any browser search console. Also, you can directly put the https://www.apachefriends.org/index.html, URL, on the search console bar, and directly you will be on the Xampp server site.
2. Click on the Xampp server site
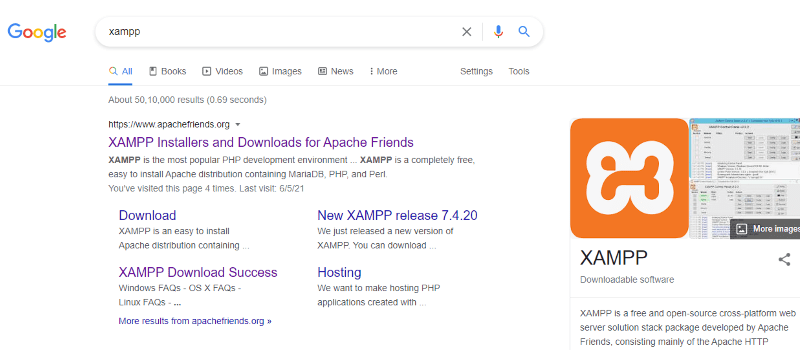
Now here just click on the first link and access the Xampp official site. And you will be directly inside the Xampp official site.
3. Simply download the Xampp according to your Operating System (Windows, Linux and Os)
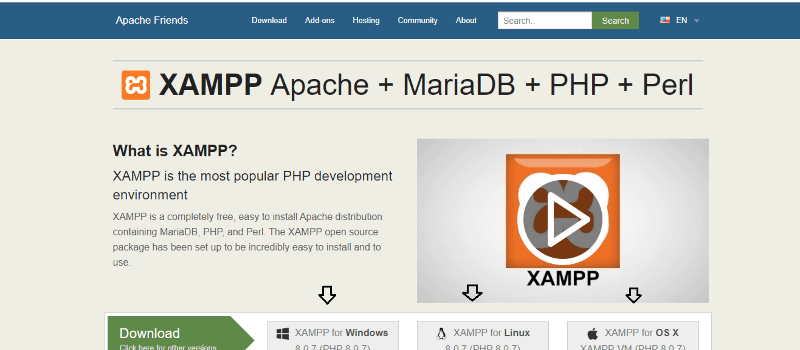
As soon as you will be inside the Xampp website, you will be getting the option of downloading it for Windows, Linux, and for OS. So according to your system simply download and install it. And automatically, after installing it, you will be getting the Xampp folder on your Window (C) folder of your system.
4. We need to download the WordPress now, from the browser
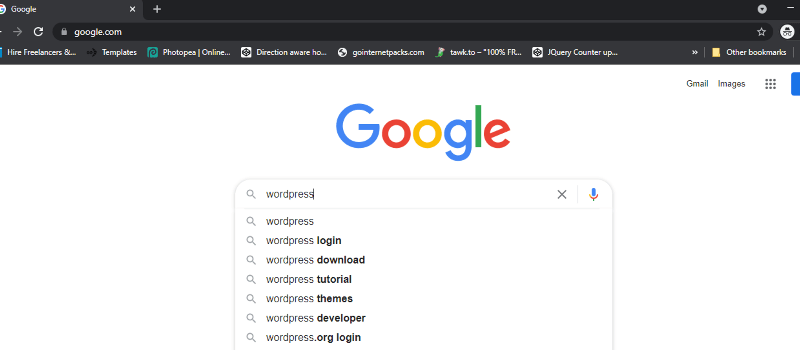
Now, we need to install WordPress. Simply search for WordPress on the browser search console. We need to download WordPress now from the WordPress.org site.
5. Access the official WordPress site, from where you can download it
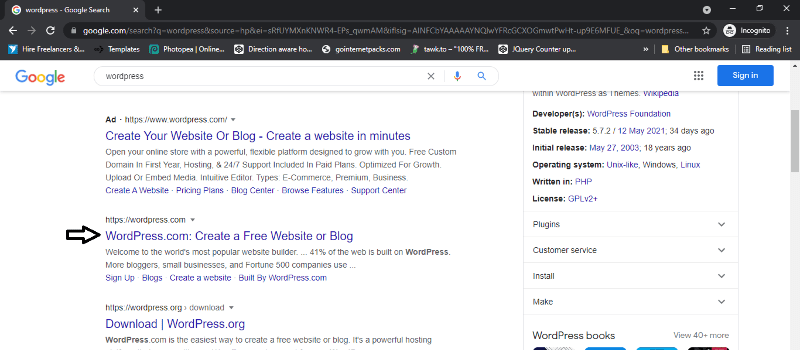
Just you need to click on the official website link, to download the WordPress file. Also, you can directly copy and paste this URL- https://wordpress.org/ and you will be automatically redirected to the official site.
6. Now from the official WordPress site click on the Get WordPress button

On the top header, simply click on the Get WordPress button or box and it automatically redirected to the download page of WordPress, from where you can download the WordPress file and successfully install it on your system.
7. Zip folder of the WordPress need to be extracted and move inside the htdocs folder inside Xampp
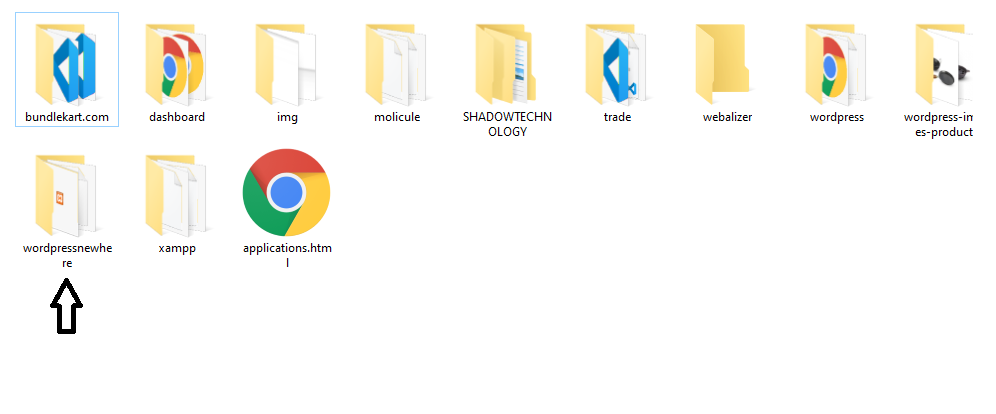
As soon as you download the WordPress file from the wordpress.org site, then you will be having the zip folder of it, you need to simply extract it and need to copy or move it inside the htdocs folder of Xampp (in-built folder). It means Windows(C) > xampp > htdocs > WordPress (downloaded file). You can also rename the downloaded WordPress file.
If you are using WAMP then your WordPress file must be copied inside the www folder inside WAMP, which will be inside the Windows C folder.
8. Open Xampp now, then run Apache and MySQL

Now just open your Xampp, and simply start the Apache and MySQL both from there. And both should start running. It is been needed so your system too behaves like a server or mini-server and can able to host your local files through their particular address or location.
9. Copy and Paste the localhost/phpmyadmin in the URL of your browser
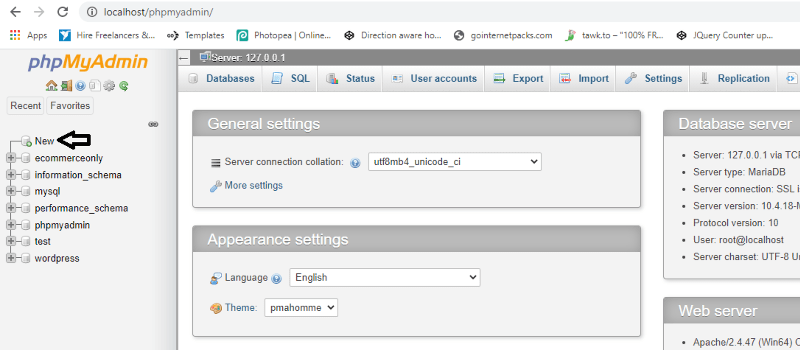
When Apache and MySQL start running together, then automatically, your system can able to host the directory or your local files, that means now with their particular location, you can able to access them inside any browser.
As for any WordPress site or blog, we must need any database too, which usually stores the data regarding our site or blog. When we use to buy the hosting from any hosting servers, they provide us the database, but here separately we need to create it through http://localhost/phpmyadmin/. Then this created database we will be linking with our WordPress, at the time of installing WordPress.
Simply on the dashboard as shown in the above image, click on the New to create a new database.
10. Create the Database with any desired Database name
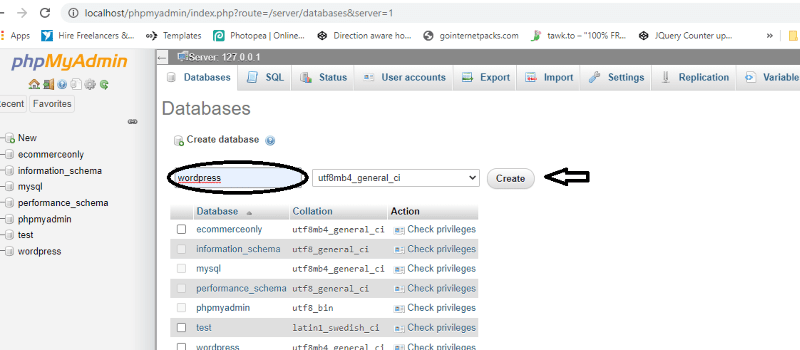
Simply with any particular name, create the database. But just remember this database name, because you need to link the WordPress database with this created database.
11. Then access the file of WordPress, which you have pasted or moved inside the Xampp folder after downloading

Now you need to access the WordPress file, which you had downloaded and placed inside the Xampp > htdocs folder. Simply on the URL bar of the browser paste- For example- localhost/newwordpress (downloaded file of WordPress, which you can rename too, and put that name after localhost and access the file simply).
12. Select the desired language and click on the continue

Select the language as you want and then click on the continue button below.
13. Simply read the notice and click on let’s go
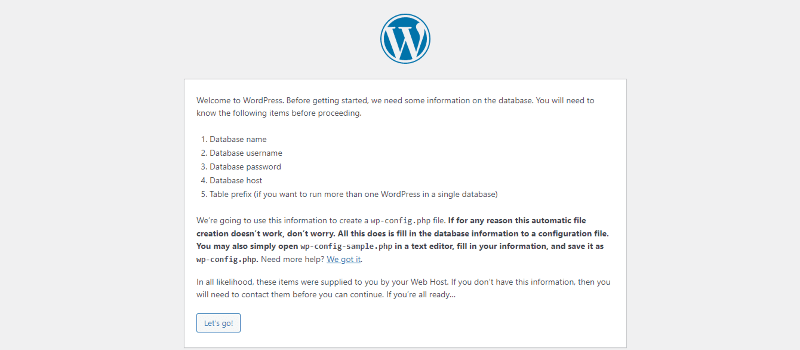
It just reminds you that for the further steps you must need the database name, which we have created just by the WordPress name only, in our previous steps, database username, password, etc. we will be mentioning all details in our further steps. So don’t worry and click on let’s go.
14. Need to feed the database details now

As shown in the above picture, you also be getting this type of dashboard, just follow the steps as shown in the picture above.
- Database Name – feed that name by which you have created your database, which you been able to do from localhost/phpmyadmin/.
- Database Username – just feed root over here.
- Password – here just don’t feed anything.
- Database Host & Table prefix – leave them as it is.
After feeding the details then just click on the Submit button.
15. Need to fill-up the information based on your site and WordPress login panel
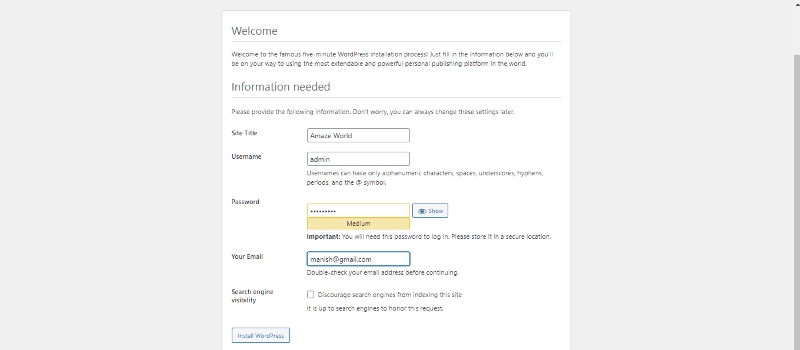
- Site title– Just mention your desired site title here.
- Username– This is been your desired username for your WordPress panel.
- Password– Fill up the password and this too needed for WordPress login, so remember it too.
- Your email– Fill up here your any e-mail id.
- Search engine visibility– remain it untick.
Then simply click on the Install WordPress button and now through your username or password login inside your WordPress account.

And now you will be getting the main WordPress dashboard, so start customizing your site, but every time you need to run the Apache and MySQL from Xampp.
Conclusion-
So here in this post, I have showcased every possible step one by one, by which you can easily able to download the WordPress inside your Local Server. In our upcoming post, we will be also covering how you can able to download WordPress inside the live server. And many other facts or reading stuff we will be covering inside our upcoming post. So stay tuned and if there is been any query do comment below, I will surely help you out.


