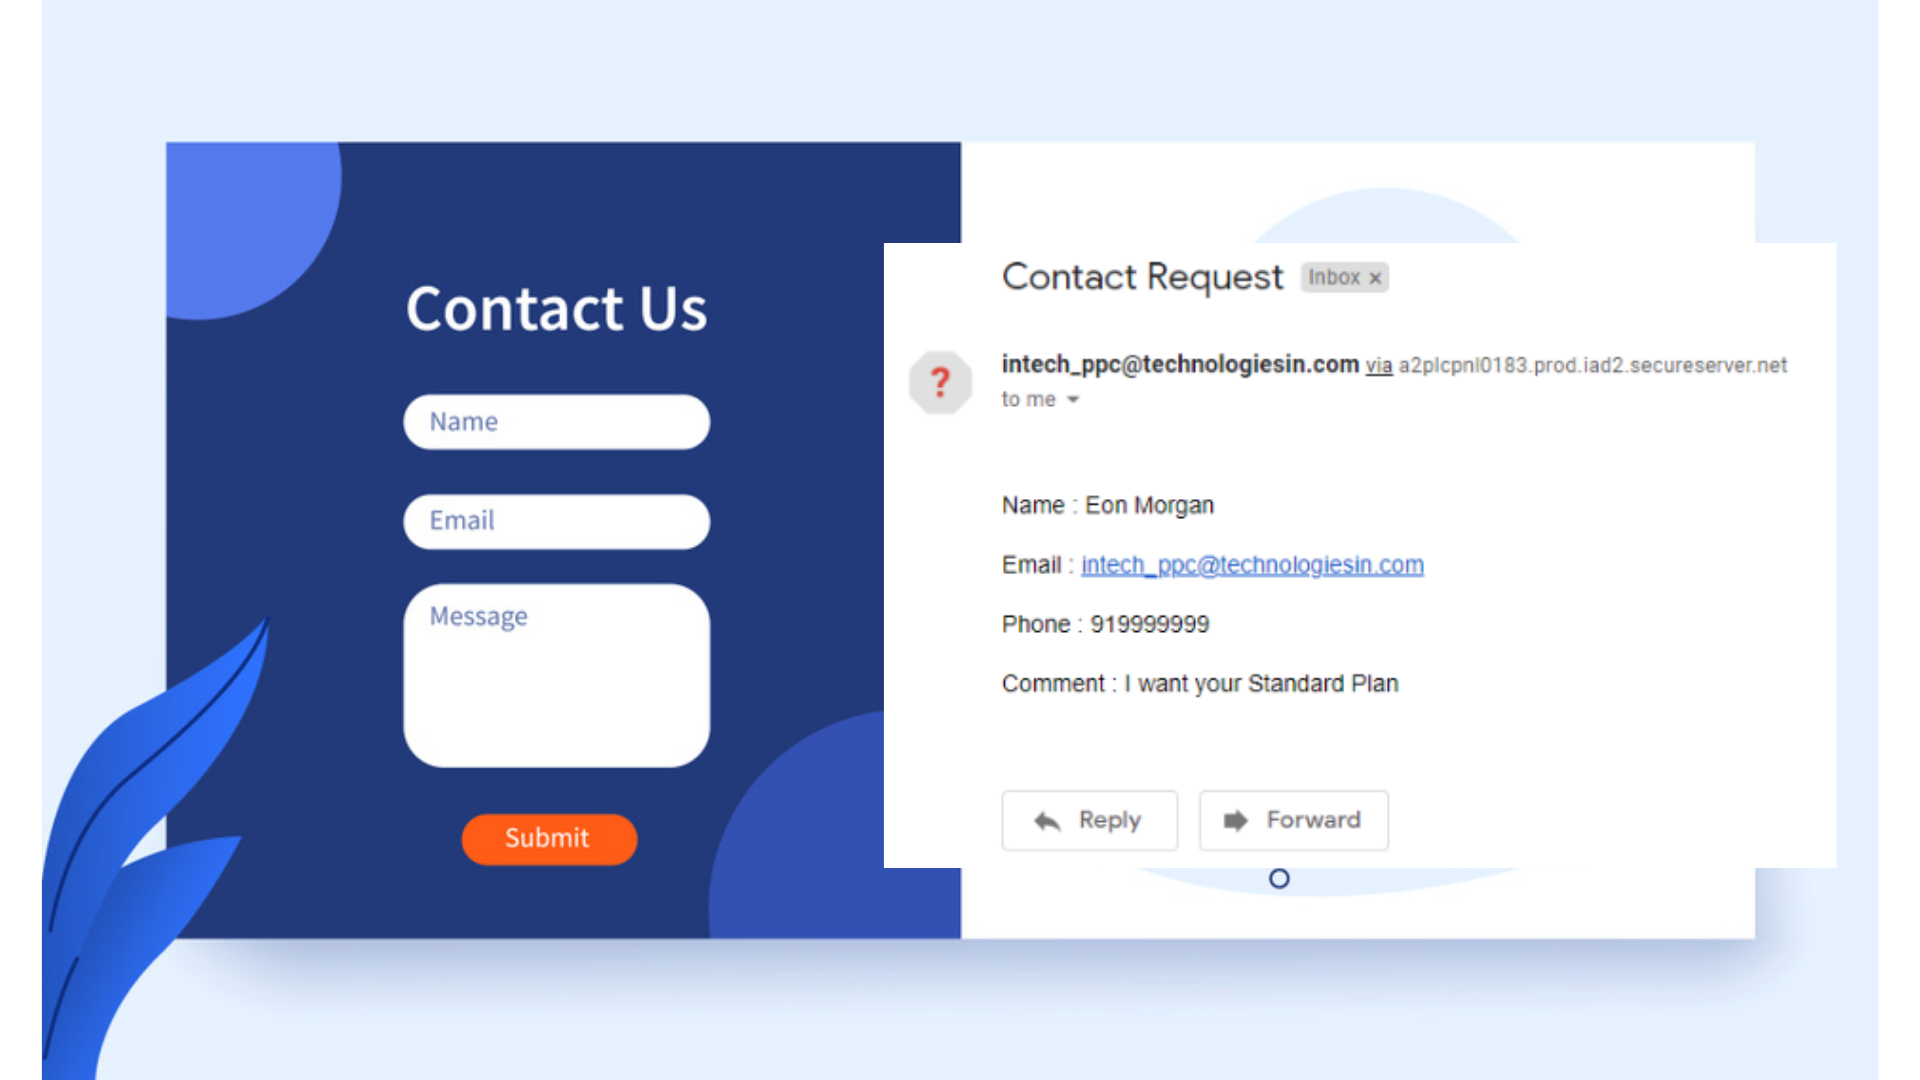
“We are going to discuss here the another way or method by which we can activate as well as validate our contact form, which we will be again going to design through custom code using the HTML, CSS & JavaScript language here. And again we are going to take the help of PHP language which is been a server-side scripting language, to gain the functionality where when any user fills the form, automatically with his personal information (like- name, email, contact number, and his queries) we will get inside our designated mailbox. But this time we will be getting it in the paragraphing format inside our mailbox.
But to run this PHP language, we need to have some important things, such as- A Web Server (to store, process, and deliver web pages to the user), PHP Interpreter (to understand the PHP code) & Database (a place to store the data).
There are tons of hosting providing companies which use to provide the hosting plans where, automatically you got a Web Server, PHP interpreter and Database together, and easily your PHP code run flawless than. Just you need to purchase any cost-efficient hosting plan, provided by tons of companies like- Godaddy, Hostinger, and etc. You can opt for any best hosting plans at discount prices from our link too- Hostinger, WPX, BigRock, Bluehost, etc. To know the Pros and Cons of different hosting companies, you can visit our post- Pros & Cons Of Different Web-Hosting Companies.
But if you are wanting it free for now, and want to run PHP on your local server or computer, then you need to download Xampp or Wamp type software, which will help your local computer or server to behave as a web-server or host-server. You need to download and open either software or application and then you need to start the Apache (which will create a local environment or server) and then MySQL, which will help you in accessing the database. And then you are ready to host any site by including your document files or WordPress files inside the htdocs or www folder. For that you need to open either software Xampp or Wamp whatever you have downloaded, If you have installed Xampp software then inside the Xampp file location, you need to search for xampp and then htdocs folder, and there you need to keep your document files or html or php any files. And if you have installed Wampp, then inside its file location search for www, and keep your document files or html or php any files there. Now you then ready to run PHP on your local server or computer.
But through purchased hosting, you can make your website live too, but through Xampp or Wampp only you can able to see your website, as it is on the local server. And as soon as you stop the Apache server, your host server breaks down.
Apart from all, I know you might be a newbie or fresher to the PHP language but there is nothing to worry about as below I will be providing you the source code, which you need to copy inside your document, and the same functionality you can able to embed inside your site or webpage. But you must need to take care of the important points or parameters which I going to mention below. So let’s start from the beginning:-“
Step 1- Beautiful HTML Form Designing
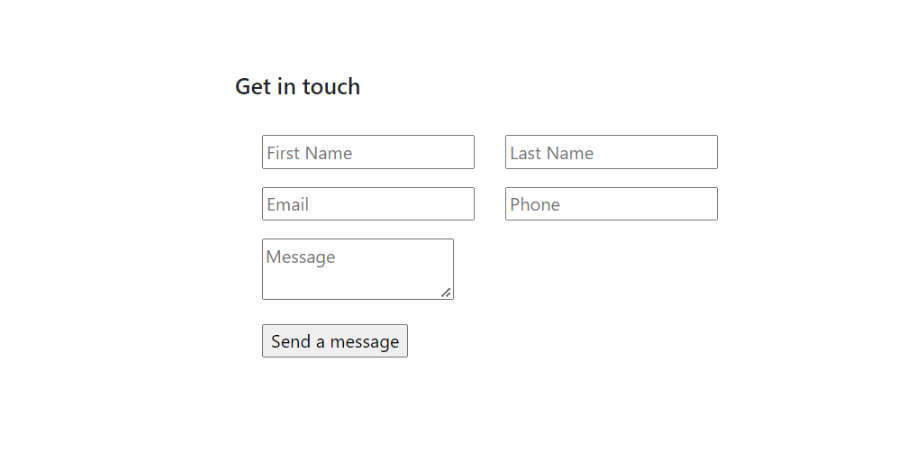
Our very first step is to design an impressive or beautiful contact form. Here for quick and beautiful designing of form we are using Bootstrap5, which is a free and open-source CSS framework, and to embed this framework we are using CDNs, so below here are the CDNs or the links needed to embed Bootstrap inside the document.
<link href="https://cdn.jsdelivr.net/npm/bootstrap@5.1.3/dist/css/bootstrap.min.css" rel="stylesheet">
<link rel="stylesheet" href="css/style.css">
<script src="https://code.jquery.com/jquery-1.10.2.js"></script>
You need to place these above CDNs inside the (<head>…</head> tag). It’s totally your choice, how you design the form. Even it’s not important to embed the Bootstrap CDN links too, but the jQuery CDN, you must need to include inside (<head>…</head> tag). Also the Form text fields attributes and values you must need to have the same as the following source code has.
<!--contact-->
<section id="contactniche" class="pt-5">
  <div class="pt-3">
    <div class="container">
      <div class="row justify-content-center align-items-center">
       <div class="col-12 col-md-6 col-lg-6 col-xl-6 pt-2">
        <div class="">
         <h5 class="textregular">Get in touch</h5>
        </div>
        <div class="pt-2">
         <form id="formhere" class="" action="consult-form.php" method="POST" onsubmit="return validatecontact()">
           <div class="container">
            <div class="row">
             <div class="col-12 col-md-6 col-lg-6 col-xl-6 pt-3">
              <div class="">
                <input type="text" placeholder="First Name" name="fname" id="fname" class="colorchange" />
              </div>
             </div>
              <div class="col-12 col-md-6 col-lg-6 col-xl-6 pt-3">
               <div class="">
                <input type="text" placeholder="Last Name" name="lname" id="lname" class="colorchange" />
               </div>
              </div>
              <div class="col-12 col-md-6 col-lg-6 col-xl-6 pt-3">
               <div class="">
                <input type="text" placeholder="Email" name="email" id="email" class="colorchange" />
               </div>
              </div>
              <div class="col-12 col-md-6 col-lg-6 col-xl-6 pt-3">
               <div class="">
                <input type="number" placeholder="Phone" name="phone" id="number" class="colorchange" oninput="javascript: if (this.value.length > this.maxLength) this.value = this.value.slice(0, this.maxLength);" maxlength = "10"/>
               </div>
              </div>
              <div class="col-12 pt-3">
               <div class="">
                <textarea rows="" cols="" placeholder="Message" name="message" id="message" class="colorchange"></textarea>
               </div>
              </div>
              <div class="col-12 pt-3">
               <div class="submitdiv">
                <div id="submitdiv"></div>
                <input type="submit" value="Send a message">
               </div>
              </div>
            </div>
           </div>
          </form>
         </div>
        </div>
       </div>
      </div>
    </div>
</section>
Step 2- Beautifying the form with help of CSS
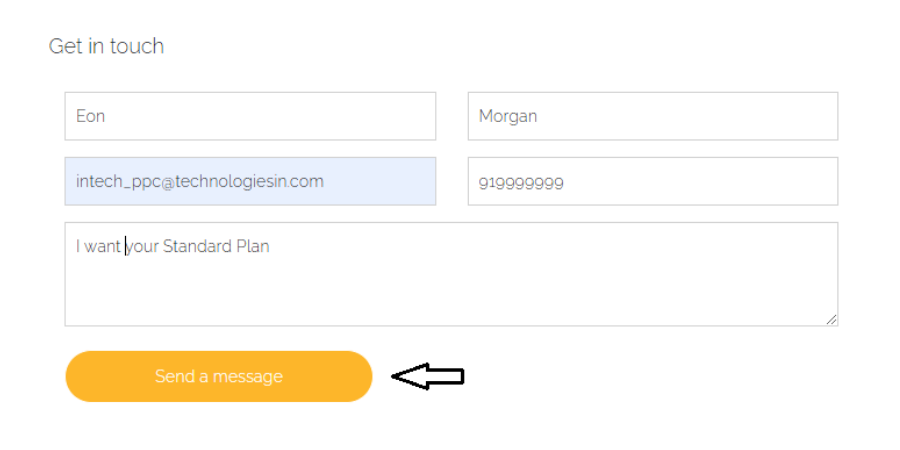
To provide a beautiful styling to our form, we need to add some code inside our CSS, (which is been the stylesheet), where we can able to style our HTML form and button elements. As soon as the following CSS code we embed inside our stylesheet, our form will look exactly the same as shown in the above image too. Our CSS code will be:-
/* Hide input number by default arrows*/
input::-webkit-outer-spin-button,
input::-webkit-inner-spin-button {
  -webkit-appearance: none;
  margin: 0;
}
.colorchange{
    background: transparent;
}
/* Firefox */
input[type=number] {
  -moz-appearance: textfield;
}
#formhere textarea{
    width:100%;
    border:1px solid lightgrey;
    height: 100px;
    padding:10px;
    outline:none;
}
#formhere input[type="text"], #formhere input[type="number"] {
    width:100%;
    border:1px solid lightgrey;
    padding:10px;
    outline:none;
}
#formhere input[type="submit"]{
    background : #fdb62a;
    color : #fff;
    border: 1px solid #fff;
    border-radius:30px;
    padding : 12px 25px;
    width:40%;
    margin:auto;
    outline:none;
}
#formhere input[type="submit"]:hover{
    background : #fff;
    color : #2d2d2d;
    border:1px solid #2d2d2d;
    border-radius:30px;
    transition: 0.5s;
    padding : 12px 25px;
    width:40%;
    margin:auto;
    outline:none;
}
.submitgamebtn{
    background : #fdb62a;
    color : #2d2d2d;
    border: 1px solid lightgrey;
    margin-top:2%;
    padding : 8px 18px;
    outline:none;
}
.submitgamebtn:hover{
    background : #2d2d2d;
    color : #fff;
    border: 1px solid #2d2d2d;
    margin-top:2%;
    padding : 8px 18px;
    outline:none;
}
.submitgamebtn:active{
    outline:none;
}
Step 3- Use Of JavaScript to provide more validation functionality
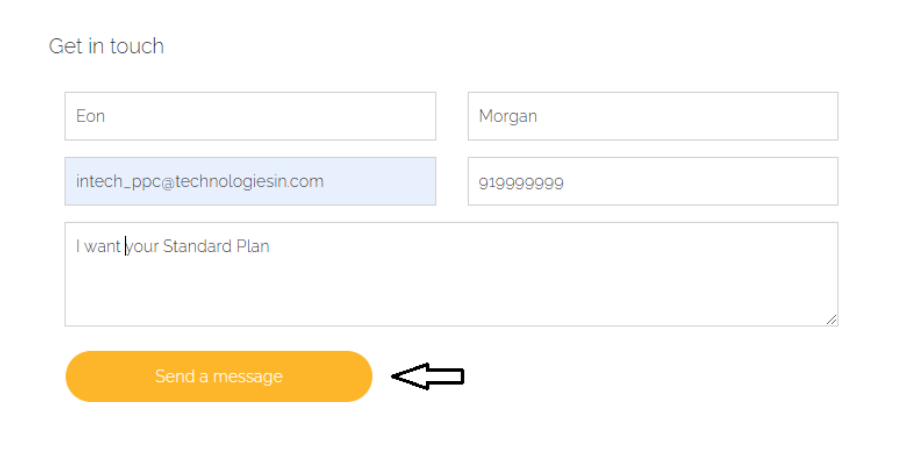
Although in HTML5, the input forms name and type attributes validates much of our contact form, as input[type=email] will only accept the email value, input[type=number] value only accept the number value, through min and max attribute, we can decide max digit or min digit to filled-up and through required attribute, we can make that particular field must need to be filled-up before submitting the form.
Our following code may be optional but this following code will help in indicating the non-filled values to the user, means if any input box value remains during the submission of form, automatically the input box color changes to red.
function validatecontact() {
    let fname = document.getElementById("fname").value;
    let lname = document.getElementById("lname").value;
    let email = document.getElementById("email").value;
    let number = document.getElementById("number").value;
    let message = document.getElementById("message").value;
    let regexEmail = /^\w+([\.-]?\w+)*@\w+([\.-]?\w+)*(\.\w{2,3})+$/;
    if (fname != "" && lname != "" && email != "" && number != "" && message != "" && email.match(regexEmail)) {
        return true;
    } else {
        formhere.elements[0].style.borderColor = "red";
        formhere.elements[1].style.borderColor = "red";
        formhere.elements[2].style.borderColor = "red";
        formhere.elements[3].style.borderColor = "red";
        formhere.elements[4].style.borderColor = "red";

        return false;
    }
}
Step 4- PHP Code For Activation
Now, it’s time to work inside PHP (backend language), don’t worry you just need to place the following code inside a different page naming consult-form.php, as through form action attribute we are sending the form to the consult-form.php, page only. You can also able to keep another name as well but then your PHP file must need to have the similar name, where you are sending the form.
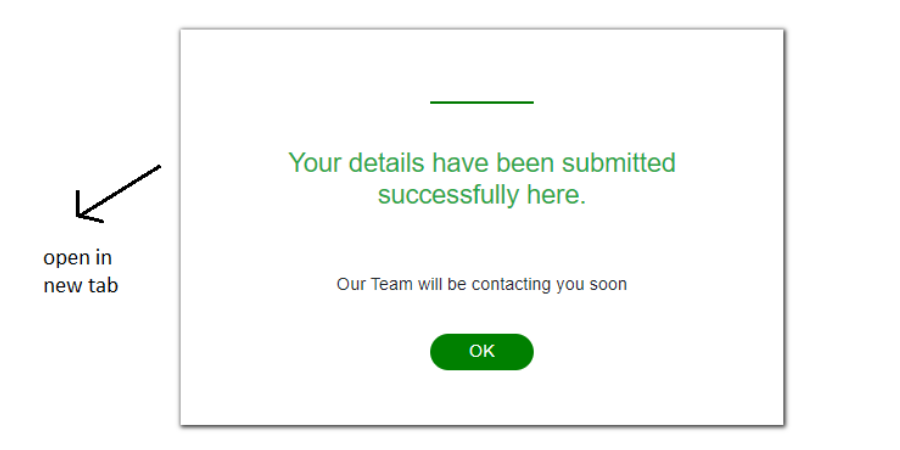
Edit your designated mail here $to =”xyz@gmail.com”; where you want to send the form or where you want to get the user details. And through the following code, your form activates. Now your user details or queries, you start getting inside your designated mail address. And when your form is successfully submitted, a success message saying “Your details have been submitted successfully here” will automatically be visible inside the new tab or new webpage. And, if form not submit successfully then it will show an error message saying “Unable to send email. Please try again.“. You can also able to edit the success or error message from the following PHP code, by replacing the content but keep in mind your content must come inside (” “) commas, as it is a string.
//links need to place inside head tag(<head)...</head>).

<?php
 session_start();
if(isset($_REQUEST['fname']) && ($_REQUEST['phone']))
	{
 $fname = $_REQUEST['fname'];
 $lname = $_REQUEST['lname'];
 $name =  $fname . ' ' . $lname;
 $phone = $_REQUEST['phone'];
 $email = $_REQUEST['email'];
$comment = $_REQUEST['message'];
 $to = 'xyz@gmail.com, msb@gmail.com';
 $subject = "Contact Request";
 $from = $email;
 // To send HTML mail, the Content-type header must be set
$headers = "MIME-Version: 1.0" . "\r\n";
$headers .= "Content-type:text/html;charset=UTF-8" . "\r\n";
 // Create email headers

 $headers .= 'From: '.$from."\r\n". 'Reply-To: '.$from."\r\n" . 'X-Mailer: PHP/' . phpversion();

 // Compose a simple HTML email message
  $message = '<html><body>';
 $message .= '<div style="text-align:center"> <img src="images/logo.png" alt=""style="text-align:center" align="center"></div>';
 $message .= '<p style="color:#000;font-size:14px;">Name : ' .$name. '</p>'; $message .= '<p style="color:#000;font-size:14px;">Email : ' .$email. '</p>';
 $message .= '<p style="color:#000;font-size:14px;">';
 $message .= '<p style="color:#000;font-size:14px;">Phone : ' .$phone. '</p>';
 $message .= '<p style="color:#000;font-size:14px;">';
 $message .= '<p style="color:#000;font-size:14px;">Comment : ' .$comment. '</p>'; $message .= '</body></html>'; $urlredirect = "#";

 // Sending email
 if(mail($to, $subject, $message, $headers))
 {
echo '<div class="d-flex justify-content-center align-items-center" id="" style="height:100vh; "><div class="container"><div class="row justify-content-center" id="echodiv" style=" background:#fff; box-shadow: 1px 1px 4px 1px #2d2d2d; padding:50px 0px 50px 0px; margin: auto;"><div class="col-12 col-md-11 col-lg-11 col-xl-11"><hr style="text-align:center; background-color:green; width:20%; height:1px"><h4 class="text-center text-success pt-4">Your details have been submitted successfully here.</h4><div class="pt-5"><p class="text-center">Our Team will be contacting you soon</p></div><div class="pt-3 text-center"> <a href="javascript:history.back()" class=""><button style="width:20%; padding:5px; border-radius:60px; border:none; background:green; color:#fff; font-weight:500;">OK</button></a></div></div></div></div></div>'; } else{ echo '<div style="font-size:17px; color:#FF0024; font-weight:bold;">Unable to send email. Please try again.</div>'; }

//header("Location:".$urlredirect."?message=1");


 }
 ?>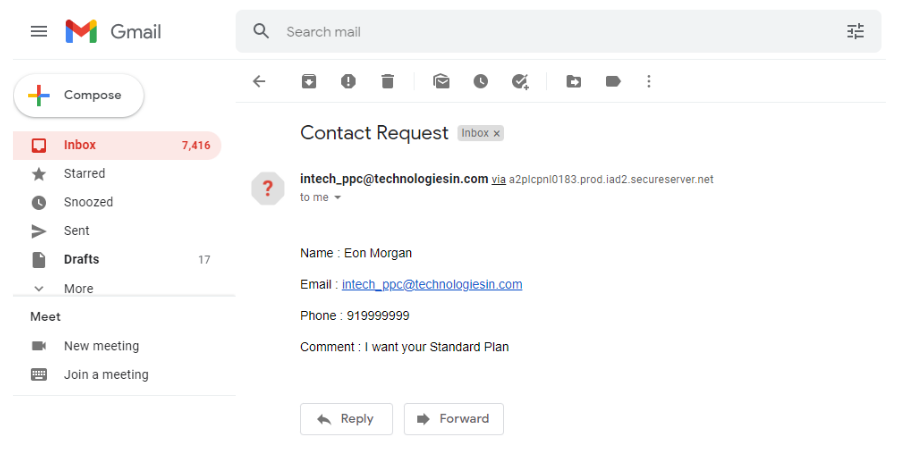
If, your form successfully activated then whenever your form filled up and clicked on the Submit button, automatically a success message will appear. And automatically the user-details will drop inside the designated mail address.
Important Points To Remember

As above, successfully we have validated and activated the form. But some important which is must and I am highlighting them below:-
- To run the PHP language, you need to have a web server, so you need to purchase any hosting plans which you can purchase from our links- Hostinger, WPX, BigRock, Bluehost, etc., or you need to install the Xampp or Wamp software, to create a local server.
- Your form input name and id attributes must need to have the same value as the PHP accessing value have, means your <input type=”text” class=”form-control” id=”fullname” placeholder=”Enter Full Name” name=”fullname”> attributes value must have the same value in PHP accessing input value $fname = $_POST[‘fullname‘];.
- Your form must need to have the action attribute and inside this action attribute, your PHP coded file location or URL you need to include- <form action=”consult-form.php” method=”POST”>.
- For secured submission of the form data, your form must need to have the method attribute, with POST value- <form method=”POST”>.
- Must update the mail address, where you want your user details drops, inside PHP- $to = ‘xyz@gmail.com, msb@gmail.com’;. Through commas (,) you can add other mails as well.
If more input fields you want inside your form, then?
One question might arise in your mind, if your form has still more input tags or more input boxes then, does this PHP code works for you. And the answer is yes, but your other input tags need to have a particular name and id attributes and through jQuery access the input values and send to PHP or access that particular input value. Also you can take help of our this post- 100% Working Contact Form With Multiple Input Tags Through Custom Code (Part-3), where multiple user input fields are there and all the details, after submission of the form, we are getting inside our designated mail address, in the tabular format.
Conclusion-
This is one other way, where we elaborated the contact form activation steps, where all the user details, you are getting inside any designated mail address. All steps are explained thoroughly, if you have any doubt, feel free to comment below.
Also, in our previous posts, I have explained or elaborated the steps, where you can activate your contact form in other way through PHP. Visit this 100% Working Contact Form Through Custom Code (Part-1), post and for more such updated information subscribed us.
